
About Me
What is an Oscilloscope?
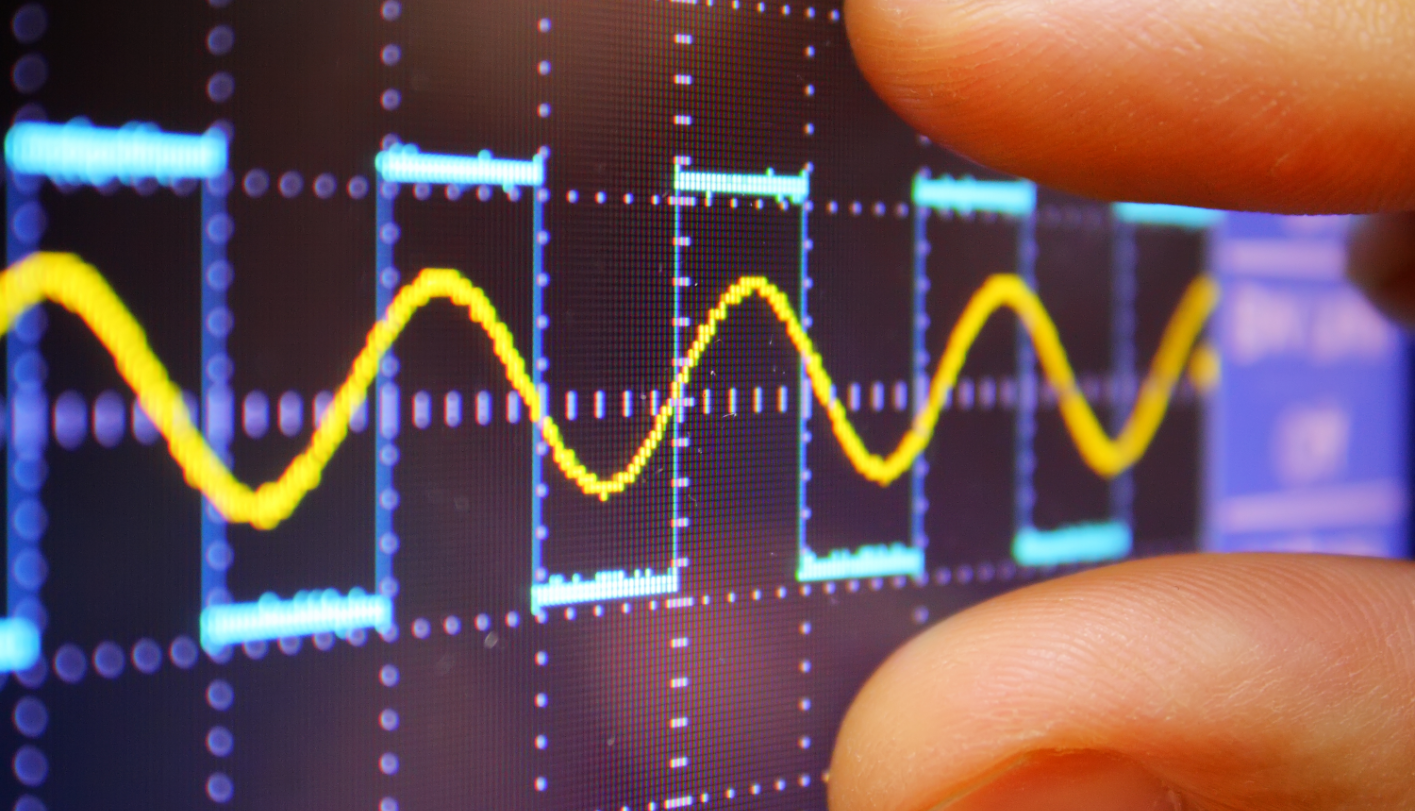
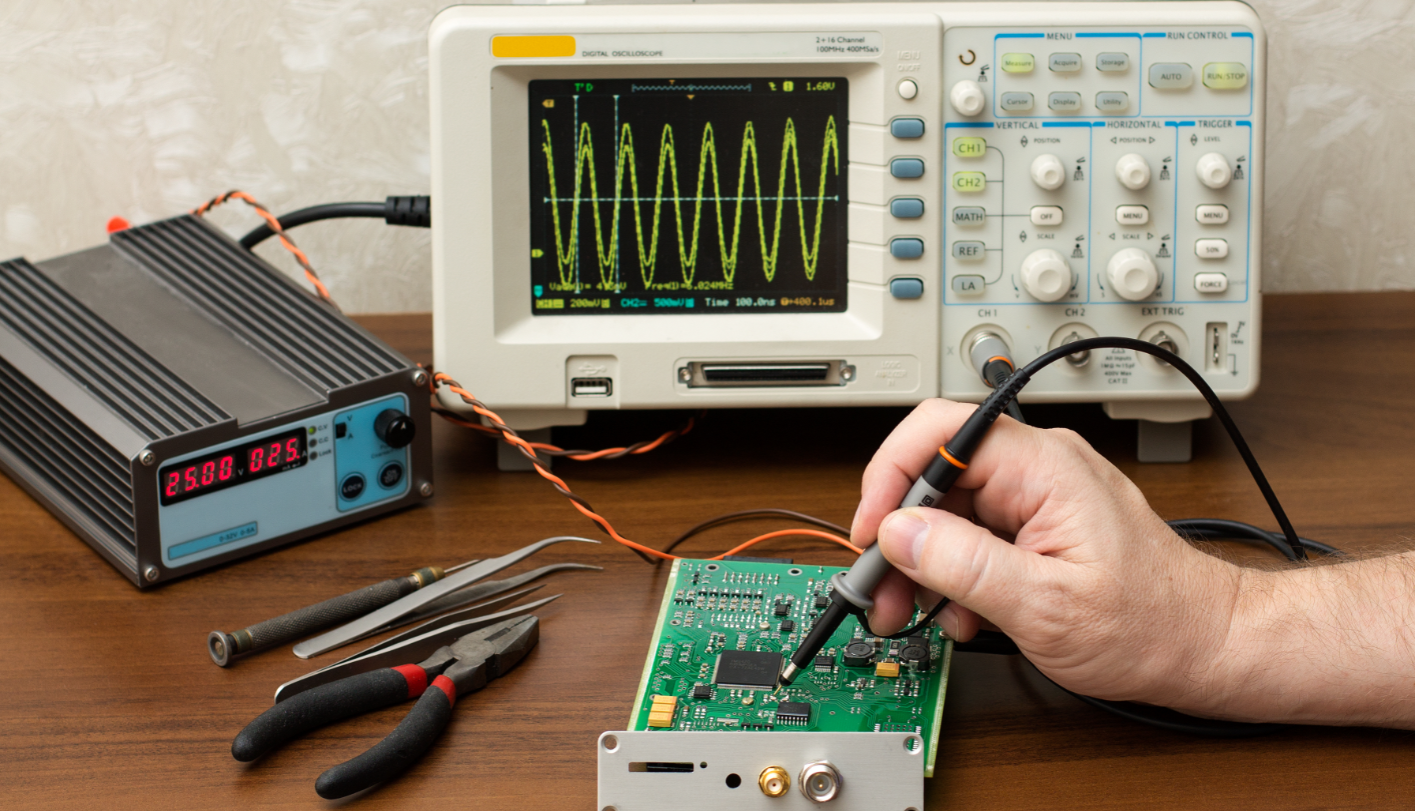
An oscilloscope is a powerful graphic display device that allows you to view signal voltages in real-time. By plotting voltage against time, it turns electrical whispers into visual stories.
DIGITAL OSCILLOSCOPE INFORMATION
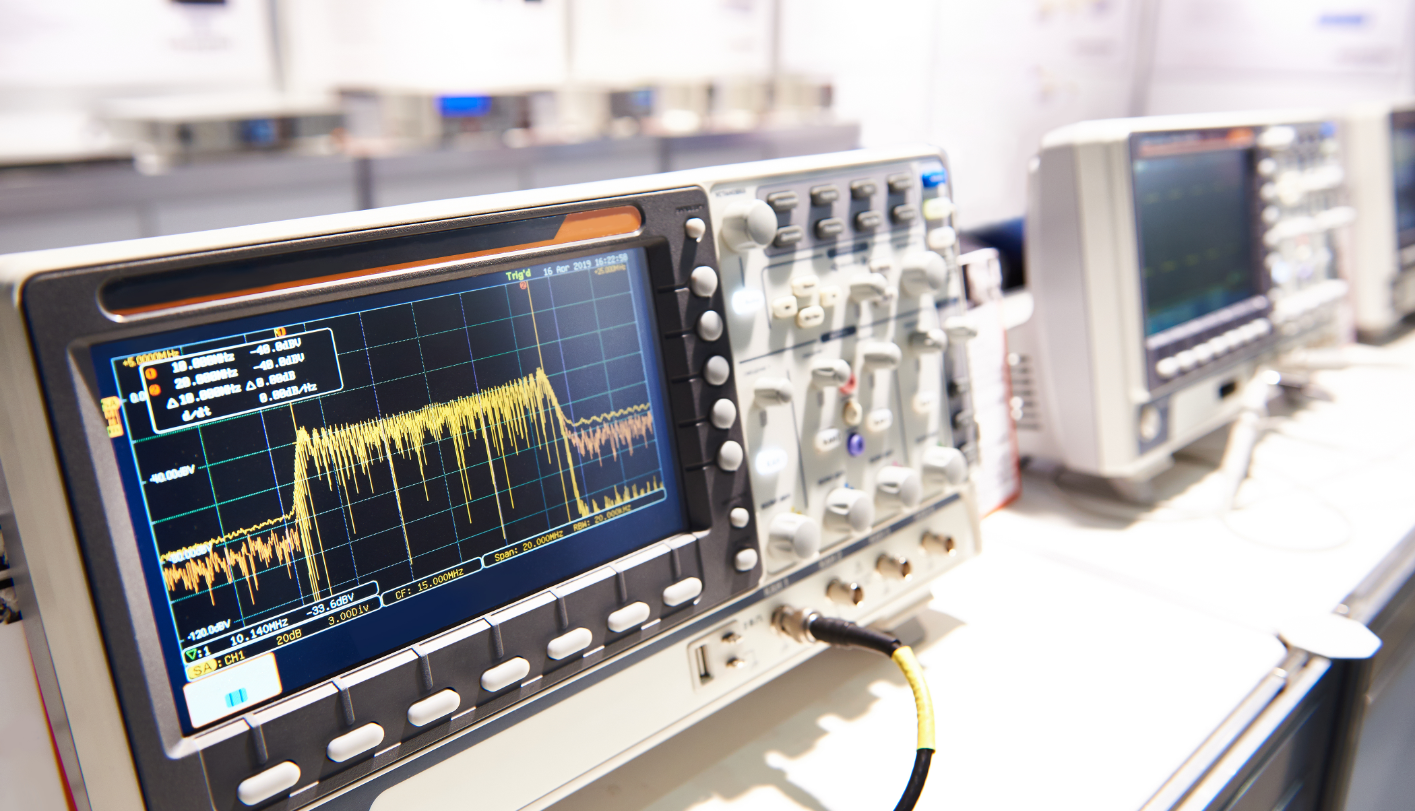
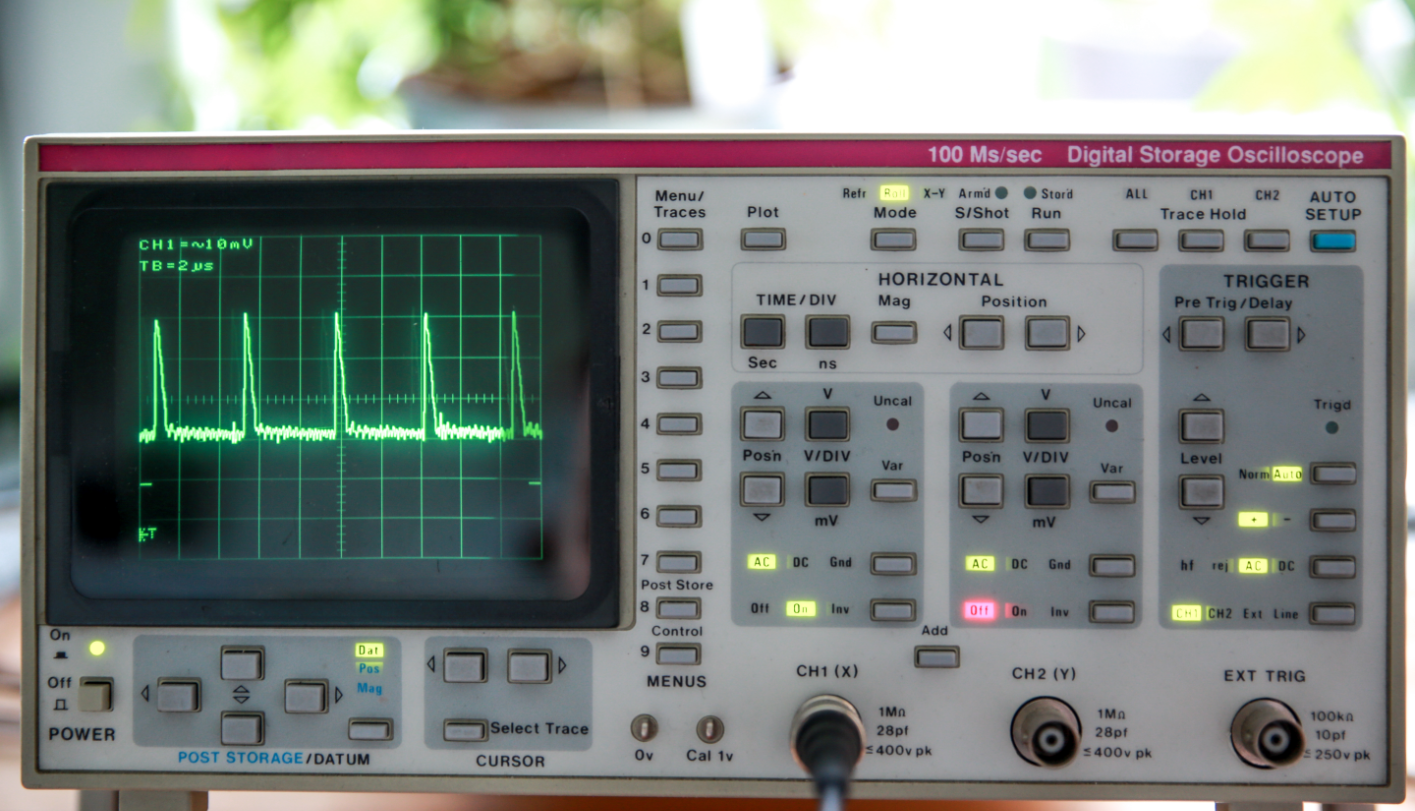
Digital Oscilloscopes are preferred for industrial applications, although simple analogue oscilloscope are used by hobbyists. Digital equipment works with discrete binary numbers.
A digital oscilloscope uses an analog-to-digital converter (or ADC) to convert the voltage being measured into digital information that is stored in the memory of a microprocessor.
Some digital oscilloscopes¨s systems are the same as analog oscilloscopes; however, digital oscilloscopes contain additional data processing systems, collecting data for the entire waveform and then displays it.
PC Oscilloscopes INFORMATION
A new kind of oscilloscope is appearing, consists of an external analogue to digital converter connected to a PC that provides the display, disc storage, networking and power.
When using a PC oscilloscope, your scope ground is often your PC ground. If you are probing a “hot” circuit while your laptop is plugged into the wall, you can create a short circuit that fries your computer. Always use a laptop on battery power or use an USB Isolator when working with high-voltage mains!
This is called PC Oscilloscope, have a lower cost and is suitable for education.-
HANDHELD OSCILLOSCOPE INFORMATION
Handheld oscilloscopes are oscilloscopes with extended scope functions which make units ideal for hobby, service, automotive and development purposes.
Suitable for measurements on audio equipment, mains voltage applications, digital signals, all kind of sensors, signal analysis in automotive applications, car stereo, etc…
Are packed with handy features which enables to perform on-the-spot measurements quick, easy and accurate. Are high-contrast, wide viewing angle LCD screen enables operation under normal daylight conditions.
How to Use it
A solid technical description on a site like Xray Gadgets acts as the fundamental building block of your documentation, describing an object or process in terms of its function, components, and interactions.
- The infinite variety of signals out there means you will never operate an oscilloscope the same way twice. Steps you can count on performing just about every time you test a circuit.
- Probe Selection and Setup
- First off, you will need to select a probe. For most signals, the simple passive probe included with your scope will work perfectly fine.
- Before connecting it to your scope, set the attenuation on your probe. 10X the most common attenuation factor is usually the most well-rounded choice. If youare trying to measure a very low-voltage signal though, you may need to use 1X.
- Connect the Probe and Turn the Scope On
- Connect your probe to the first channel on your scope, and turn it on. Have some patience here, some scopes take as long to boot up as an old PC.
- When the scope boots up you should see the divisions, scale, and a noisy, flat line of a waveform.
The screen should also show previously set values for time and volts per div. Ignoring those scales for now, make these adjustments to put your scope into a standard setup:
- Turn channel 1 on and channel 2 off.
- Set channel 1 to DC coupling.
- Set the trigger source to channel 1 no external source or alternate channel triggering.
- Set the trigger type to rising edge, and the trigger mode to auto (as opposed to single).
- Make sure the scope probe attenuation on your scope matches the setting on your probe (e.g. 1X, 10X).
Testing the Probe
Let s connect that channel up to a meaningful signal. Most scopes will have a built-in frequency generator that emits a reliable, set-frequency wave on the GA1102CAL there is a 1kHz square wave output at the bottom-right of the front panel. The frequency generator output has two separate conductors one for the signal and one for ground. Connect your probe ground clip to the ground, and the probe tip to the signal output.
As soon as you connect both parts of the probe, you should see a signal begin to dance around your screen. Try fiddling with the horizontal and vertical system knobs to maneuver the waveform around the screen. Rotating the scale knobs clockwise will zoom into your waveform, and counter-clockwise zooms out. You can also use the position knob to further locate your waveform.
If your wave is still unstable, try rotating the trigger position knob. Make sure the trigger is not higher than the tallest peak of your waveform. By default, the trigger type should be set to edge, which is usually a good choice for square waves like this.
Try fiddling with those knobs enough to display a single period of your wave on the screen.
Or try zooming way out on the time scale to show dozens of squares.
My Portfolio
Below is a curated look at the projects, restorations, and technical challenges we’ve mastered. We don’t just use gadgets; we redefine how they are understood.
What My Clients Says
Real feedback from the bench, the lab, and the field.
“We had a series of high-frequency transients that were baffling our internal team. Xray Gadgets didn’t just find the signal; they explained the ‘why’ behind the aberration. Their ability to translate complex physics into a stable waveform is unmatched.”
“When you’re racing toward a product launch, you can’t afford to guess. Xray Gadgets helped us calibrate our sensor array and clean up our DC power rails. They turned our ‘black box’ issues into a clear, actionable roadmap.”
“I sent them a manual that looked like it had been through a shredder—full of scrambled text and missing schematics. They restored the archive data perfectly. My 1970s Tektronix scope is back in service thanks to their Archive Restoration service.”
Have a signal you can’t stabilize? Let’s talk shop.
Whether you’re stuck on a trigger setting, looking for a specific transducer recommendation, or want to contribute to our technical archives, the team at Xray Gadgets is ready to help you clear the noise.